Appearance
Introduction
The Dashboard is a ready-to-use web application for your teams to use as a back office.
From there, your Dashboard Users can manage your end users, hence providing support without having to develop an application or going through complex, technical-driven processes.
Here is what the Dashboard can do for you:
- End users support – Manage users, wallets, cards, and operations from the interface.
- Technical configuration – Makes subscribing to webhooks or configuring templates easier.
- Testing – Control the results of your integration directly from your Sandbox Dashboard.
- Company account management – Manage your own accounts in the Treezor ecosystem (keep track of operations, initiate transfers to your bank accounts, etc.).
The complete list of actions you can do from the Dashboard is available in the Dashboard User Roles article.
Accessing your Dashboard
If you’ve opted for this option when starting to work with Treezor services, you have a Dashboard for each of your environments shared with you by your Treezor Implementation Manager:
- Sandbox –
https://dashboard-{yourCompanyName}.sandbox.treezor.co - Production –
https://dashboard.{yourCompanyName}.api.treezor.co
There are two ways to log in to the Dashboard for you and your teams:
| Method | Description |
|---|---|
| Standard with 2FA | You and your team log in with a username and password. Once this done, the user also goes through 2-factor authentication (2FA). |
| SSO Identity Provider | If your company has a single authentication solution for multiple applications, you can configure your Dashboard to authenticate your users with it. |

Best practice – Always use your individual account
Treezor has provided you with a technical account in the early steps of your journey. This account is to be used as a backup account only.
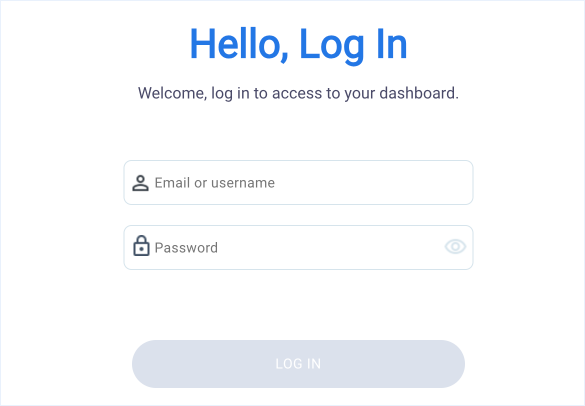
Standard login with 2FA
When logging in with Treezor, 2-Factor Authentication (2FA) is mandatory for security reasons.
With 2FA, Dashboard Users enter:
- Their username and password
- A second authentication factor (biometric or PIN/password).
This technology relies on a pair of cryptographic keys: a private key stored on a trusted device and a public key registered on our servers.
It makes sharing accounts impossible, and only one device for a given account can hold the passkey for the second factor.
Configuring Dashboard 2FA
Available options for 2FA depend on the configuration, device, and browser, and can be:
- Internal device (the one the Dashboard User uses to access the Dashboard)
- External device (phone, tablet, security key)
- All types of devices
If needed, your Treezor Implementation Manager will help you configure the authentication to fit your work environment.
Logging in with 2FA
When prompted, Dashboard Users set up and provide a second authentication factor, which can be biometric (fingerprint, facial recognition) or a personal PIN/password.
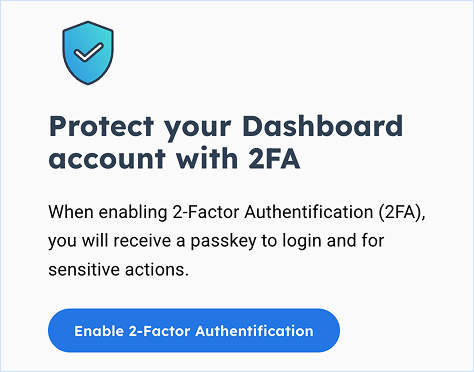
After entering their username and password for the first time, they must click on “Enable 2-Factor Authentication” to set up their passkey.
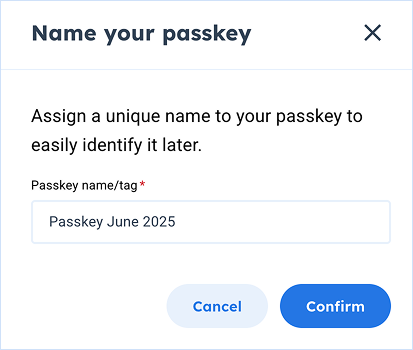
From there, they follow the browser prompts to select their authenticator of choice based on your Dashboard configuration.
Once the relevant option is selected, they can name their passkey for convenience purposes, and get back to log in.
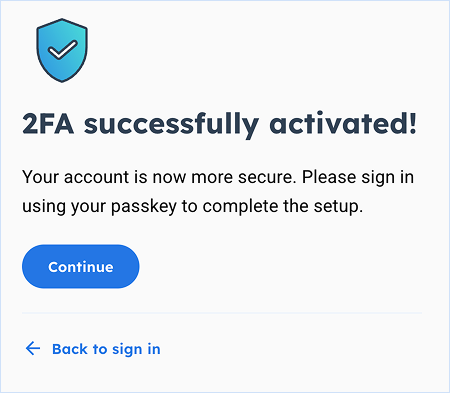
After this initial setup, the passkey is required every time the user logs in (or if the session exceeds 12 hours).

Tip – Managing 2FA accesses
- Dashboard Users can edit their password by accessing the Account page.
- Managers can reset the users 2FA in the Dashboard Users view.
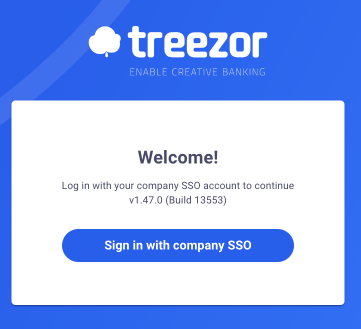
Company SSO login
You can also use your company Single Sign-On (SSO) solution to log in to the Dashboard seamlessly.
Configuring your SSO
You need to contact Treezor to configure your SSO. Your Treezor Implementation Manager will ask for your SAML app configuration file (see Google documentation for example).
Then, you can define a SAML key when creating your Dashboard Users. The SAML key links automatically a Dashboard User to a Dashboard OAuth2 client.
Logging in with SSO
Once the setup done, this is a straightforward experience for your Dashboard Users.
Get to know the Dashboard Interface
Let’s take a quick guided tour of the key components of the Dashboard interface.
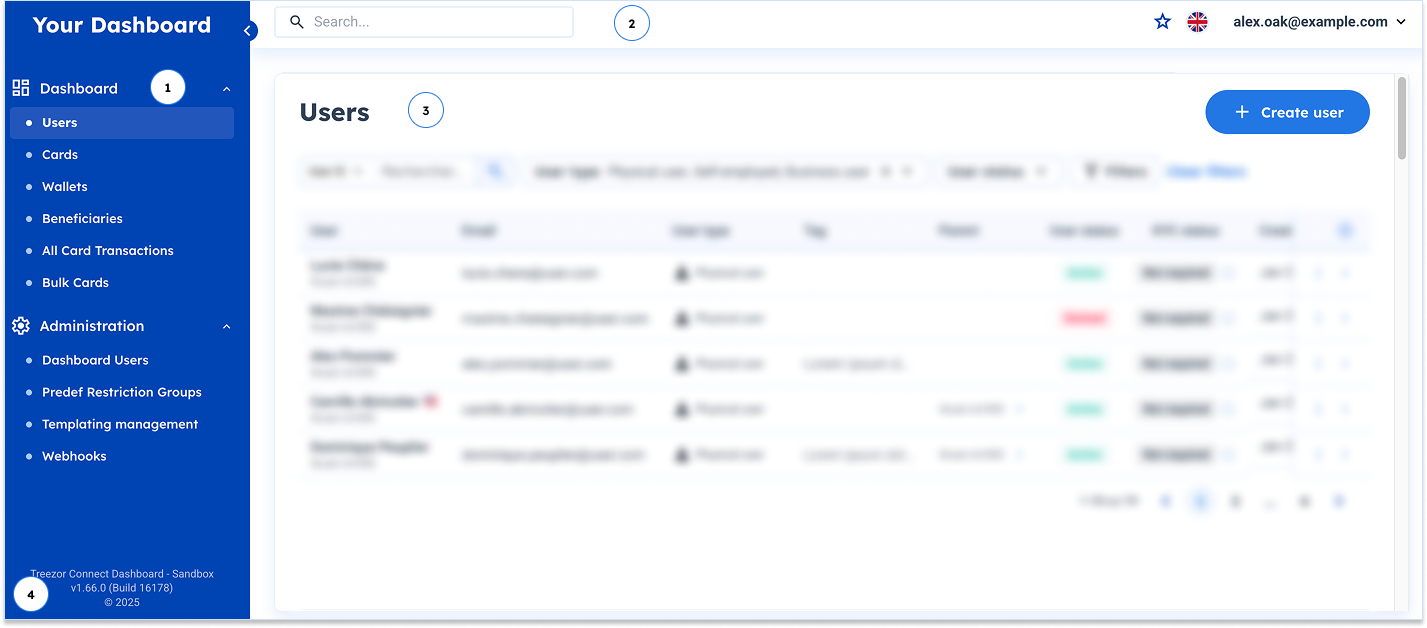
| # | Section | Description |
|---|---|---|
| Navigation menu | Located on the left-hand side, this foldable menu allows you to navigate to the different views:
| |
| Main toolbar | In the upper part of each view, the Main toolbar contains the search field, the list of favorites, the language selection, and the account drop-down, for you to log out or access your Account page. | |
| Main view | Main content, which depends on the selected view. By default, the Users view is displayed. | |
| Environment | In the bottom left corner, you’ll find information about your environment and the version of the Dashboard. |

Note – Your Dashboard is customizable
The views may differ from the screenshots displayed depending on:
- Where you’re at in your integration process, if you’re customizing the design
- The User Role of the logged-in user, if you’re not using all of Treezor features
- Your localization and language selection